Nanobrow Lamination Gel. Will it become my new favourite?
Dear girls!
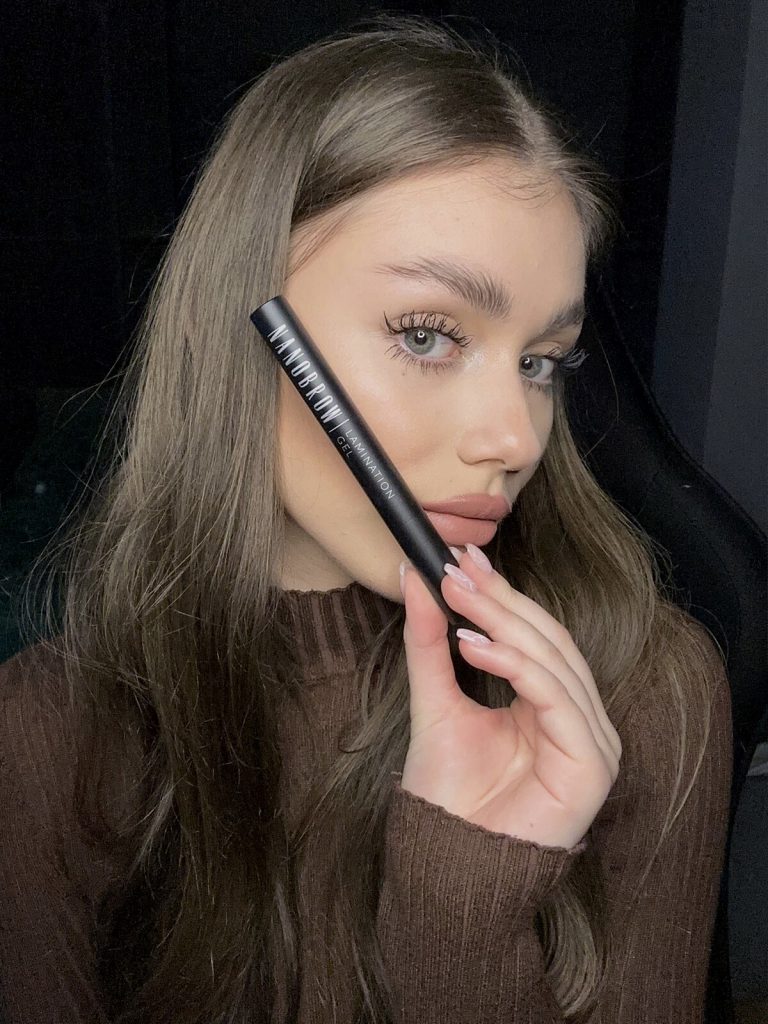
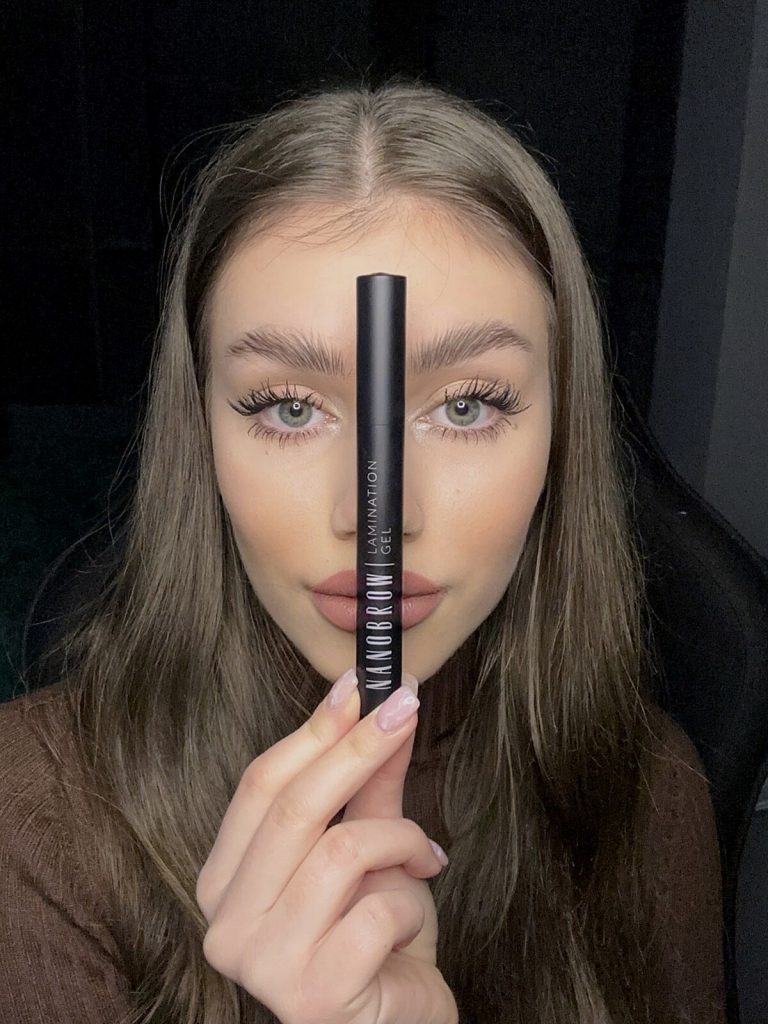
My eyebrows are not as thick as I’d like them to be and they’re full of coarse, difficult-to-style hairs that live their own life. I like their colour, I don’t use henna or go for lamination treatments and when it comes to styling them I usually opt for clear gels. Lately, I’ve been looking for something different – something that would surprise me and become a staple in my makeup kit. After some time, I incorporated Nanobrow Lamination Gel into my everyday makeup routine. I’ve been testing it the entire month so here’s my review of it with a few additional tips. Keep on reading! 😉
Nanobrow Lamination Gel – an honest review
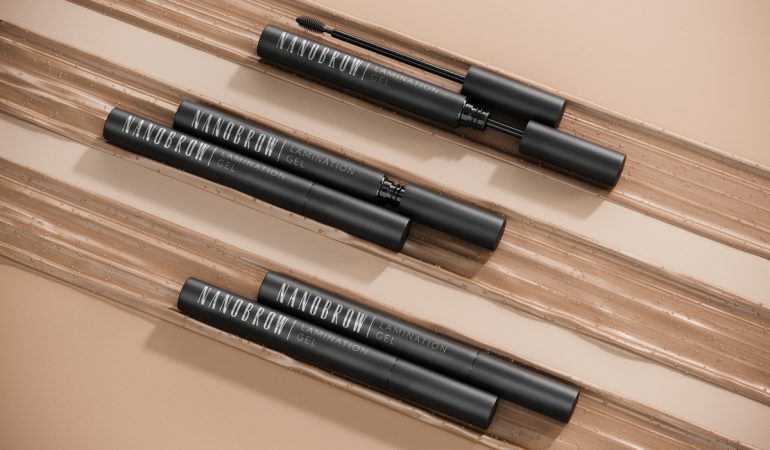
Nanobrow Lamination Gel is available in 4 colour variants. I tested all four for you guys and here’s my conclusion 😉
Nanobrow Lamination Gel, as the name suggests, is supposed to deliver a laminated brow look. It’s equipped with a dense silicone spoolie brush that combs brow hair very well. It coats them with the gel evenly and they become softer and prone to styling.

Is the laminated brow look only a marketing ploy? Well, it turned out that it really did add volume and shine just like after lamination treatment. The hairs are easier to style and the end result is very natural. The gel keeps my hairs in check all day long. Its formula isn’t sticky and doesn’t leave clumps on my skin. It’s lightweight and enriched with castor oil – we all know how many caring qualities it provides.
What about the price? For a professional brow makeup product that is able to replace expensive lamination procedures, the price is fair. I will definitely buy another bottle as soon as the first one is finished 😉
How to use Nanobrow Lamination Gel?
Here’s the way I do it! It’s worth it to comb your hairs first with a clean spoolie – a dedicated brow brush or an old wand from some old mascara, it doesn’t really matter. Shape your arches in the desired way. Start applying the gel and coat all your hairs evenly with the product. The cosmetic needs a moment to fully dry and set the makeup. During this time you can fix any errors and tame the hairs that stick out.
A few tips and tricks:
- Comb your brow hairs with the direction of their growth – that way you can give them the desired shape without damaging weak hairs.
- Do your brow makeup before applying foundation. If the gel gets on your skin you can easily remove it and avoid ruining the rest of your makeup.
- The colour intensity can be graded by adding a couple of thin layers.

Which shade of Nanobrow Lamination Gel should I choose?
As I’ve mentioned before, there are 4 shades of the gel: Beige, Brown, Black and Transparent. Which one should you choose?
- Beige – it’s a light, cool-toned brown colour dedicated to blondes. It’s perfect if you’re looking for a shade with grey undertones.
- Brown – a neutral brown shade great for those with dirty blonde, red and brown hair with warm undertones.
- Black – a deep black shade for people with very dark brown or black hair.
- Transparent – the most versatile version. The clear variant will work great in natural makeup looks and as a fixer (my favourite way) 😉
Let me know if the review was helpful for you! 😉 Go ahead and leave a comment – share your experience with others!
Find out more at www.nanobrow.us
